Key Takeaways
- Choose for your route and beam coverage, not one universal lumen target.
- Keep reflective details and marker lights clear of bags and clothing.
- Check runtime in the mode you will use, plus a practical fallback.
How this guide was built
Desk-researched guidance, reviewed September 21, 2026. We consulted government advice and manufacturer technical documents; we have not tested or ranked lights for this article.
Start with the walk you actually take: a lit sidewalk, an unlit park path, or a route that crosses driveways. List the dark sections and crossing points. Then choose equipment for those tasks instead of buying the strongest light on the shelf.
| Light or accessory | Useful role | Limit to check |
|---|---|---|
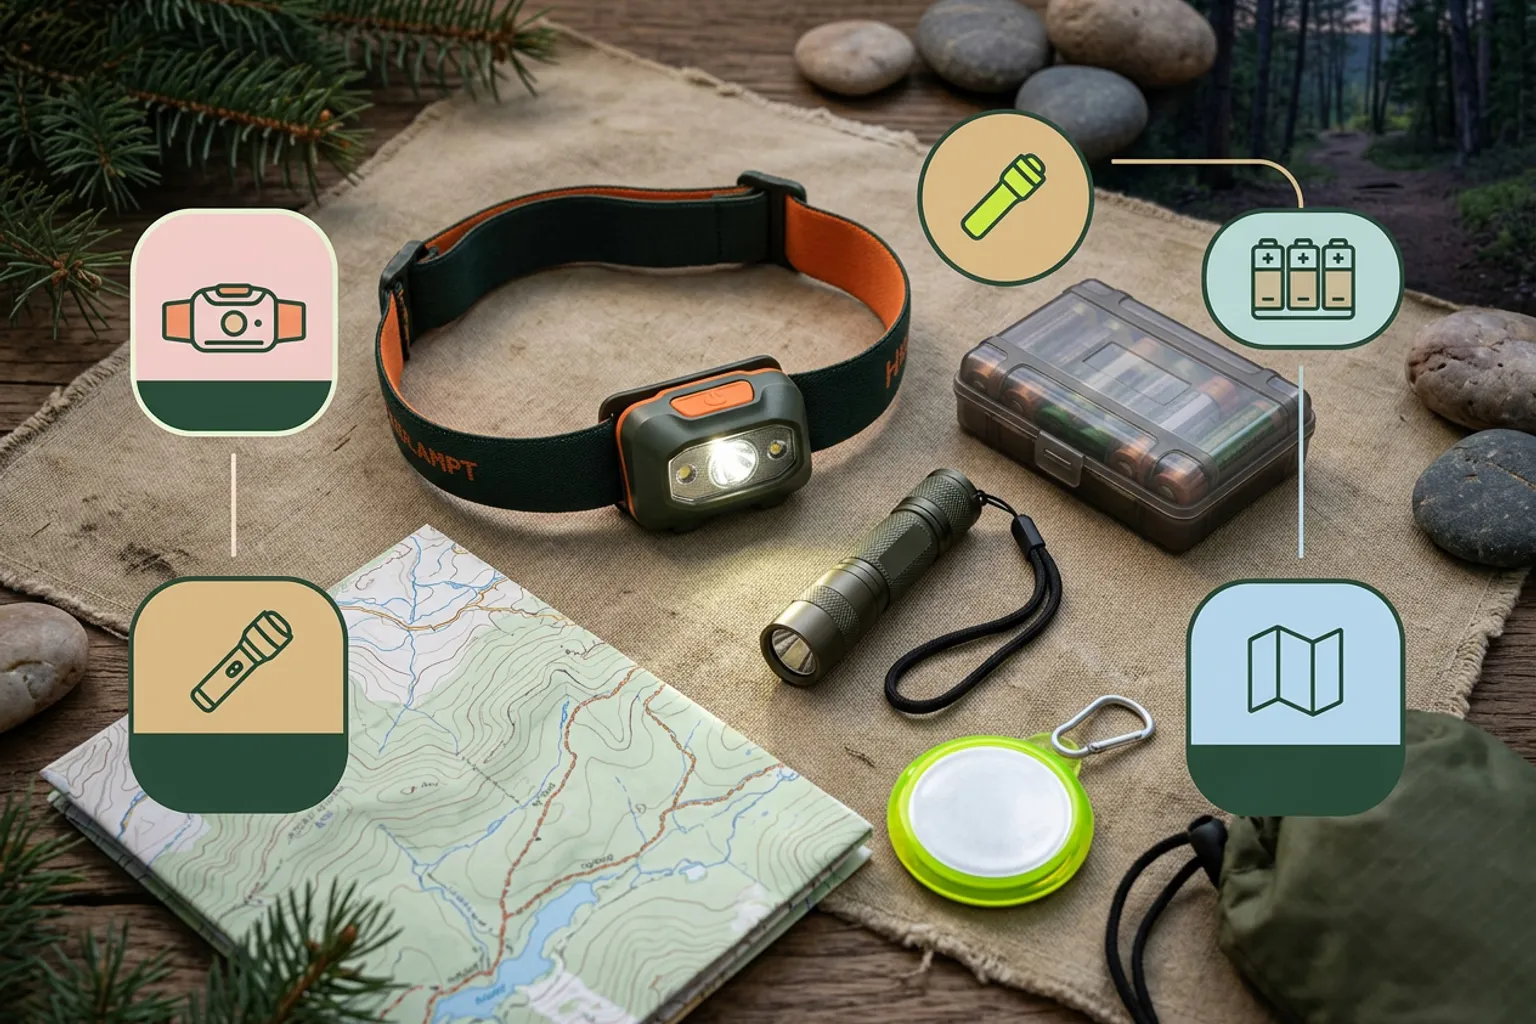
| Headlamp or handheld torch | Illuminating the surface ahead | Beam aim, usable runtime and secure handling |
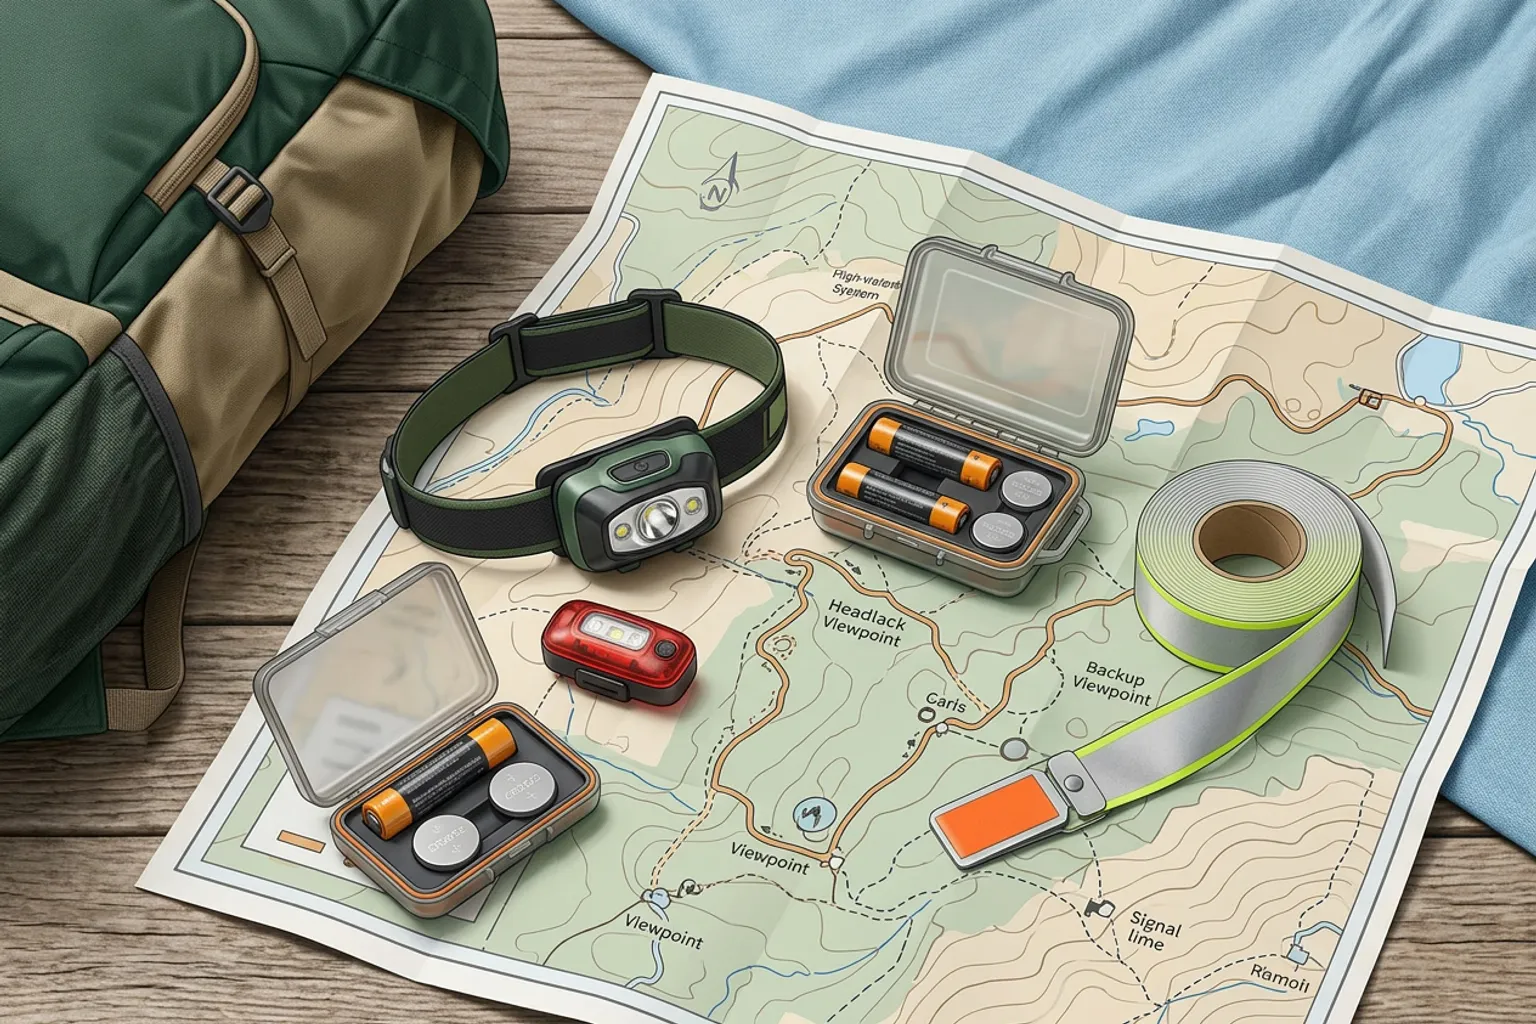
| Wearable marker light | Additional active visibility | Mounting, obstructions and separate power |
| Retroreflective band or garment | Returning incoming light toward its source | Needs external illumination; cannot light your path |
1. Choose the route before the light
A lamp cannot compensate for a missing sidewalk or an obscured crossing. NHTSA recommends sidewalks where available, designated crossing points, and attention to turning or reversing vehicles. Our planning suggestion: if a familiar route has a poorly lit section beside traffic, compare a better-lit alternative before adding more equipment.
Road guidance here is US-based; obey the rules and signs where you walk.
Sources for this section: NHTSA: walking safety
2. Give path lighting and visibility different jobs
A path light needs to show the surface you are stepping onto. Reflective material returns incoming light toward its source; it does not generate light or reveal obstacles. NHTSA also discusses active wearable lights as visibility aids. For a route with both dark pavement and traffic, consider these complementary jobs rather than interchangeable products.
Visibility aids do not guarantee that a driver will notice you or stop.
Sources for this section: NHTSA: conspicuity research
3. Check placement with your actual clothes
Put on your coat and backpack before checking attachment points. A pocket flap or bag can hide an accessory that looked exposed indoors. NHTSA’s research synthesis highlights reflective material on moving extremities, including wrists and ankles. As a practical fit check, look at your setup from front, side and rear while standing away from traffic.
This fit check is not a measurement of real-world detection distance.
Sources for this section: NHTSA: conspicuity research
4. Aim the beam without dazzling others
Set the beam toward your walking surface and adjust it when people approach. Petzl’s technical guidance says to avoid pointing the beam into another person’s eyes and to adjust brightness and tilt to limit glare. Our selection advice: try the controls and tilt mechanism before relying on them during a walk.
Adjust in a safe place; do not test a lamp by shining it at drivers.
Sources for this section: Petzl: headlamp technical notice
5. Read runtime for the mode you need
The longest advertised runtime and highest output may describe different settings. Petzl explains that its ANSI runtime measure continues as output declines, so the number is not a promise of constant brightness. Check the mode table. For walks away from easy access to lighting, our suggestion is a usable spare light or compatible spare power.
NPS includes illumination and extra batteries in outdoor preparation; choose a fallback you can operate.
Sources for this section: Petzl: lighting performance and IP ratings · NPS: Ten Essentials
6. Match weather protection to the conditions
Look for the exact model’s IP rating and instructions, not only the word waterproof. Petzl distinguishes weather resistance from ratings with specified immersion conditions. Inspect battery-compartment and charging-port closures before wet-weather use. Our buying advice: reject a listing without clear protection information if rain is part of your normal route.
A weather-resistant rating is not permission to submerge the lamp.
Sources for this section: Petzl: lighting performance and IP ratings
Before you choose
- Identify sidewalks, crossings and dark sections before setting out.
- Check the path beam with your normal outer layer and bag.
- Keep visibility accessories exposed from relevant directions.
- Confirm charge, operating mode and fallback power or light.
- Read the model’s weather-resistance instructions and inspect closures.
Frequently asked questions
How many lumens do I need for night walking?
There is no universal number in this guide. Start with surface detail, beam coverage and the usable runtime needed on your route. A maximum-output label alone cannot answer those questions.
Can reflective clothing replace a torch?
No. It returns incoming light rather than lighting the ground. On an unlit path, you still need a way to see where you are stepping; see the visibility evidence above.
Is a headlamp always better than a handheld light?
Choose the arrangement you can aim and operate comfortably. Our practical preference for occupied hands is a securely fitted headlamp; a handheld light may suit a short walk when you want separate control of beam direction.
Should I choose flashing or steady mode?
Use a steady beam for examining the path. For a separate marker light, check the maker’s intended use and local restrictions. We have not established that one flashing pattern is best for every walking environment.
Sources
- NHTSA: walking safety , retrieved 2026-09-21. US road-safety guidance; follow local signs and rules.
- NHTSA: conspicuity research , retrieved 2026-09-21. Research synthesis supports visibility aids, not guaranteed detection distance or crash prevention.
- Petzl: lighting performance and IP ratings , retrieved 2026-09-21. Manufacturer explanation of its measurements; check the exact model and mode.
- Petzl: headlamp technical notice , retrieved 2026-09-21. Manufacturer beam-direction and glare precautions, not a consumer light ranking.
- NPS: Ten Essentials , retrieved 2026-09-21. Outdoor illumination and spare-power preparation; adapt to the route.
Updated September 21, 2026 / 6 min read